Introduction
Making your own clothes is a rewarding and sustainable way to express your creativity, personalize your wardrobe, and reduce your environmental impact.
This comprehensive guide will take you through the entire process, from choosing the right materials to sewing your final piece.
Whether you’re a beginner or an experienced sewer, this guide will provide you with the knowledge and inspiration to create beautiful, custom-made garments.
Chapter 1: Why Make Your Own Clothes?
Benefits of DIY Clothing
- Sustainability: Reduces waste and promotes sustainable fashion practices.
- Customization: Allows you to create unique pieces tailored to your style and body.
- Cost-Effective: Can be more affordable than buying ready-made clothes, especially high-quality garments.
- Skill Development: Enhances your sewing skills and fosters a sense of accomplishment.
Personal Anecdote: “I started making my own clothes as a hobby, but it quickly became a passion. The process of creating something from scratch is incredibly fulfilling, and I’ve gained a deeper appreciation for the craftsmanship behind clothing.”
Chapter 2: Gathering Your Supplies
Essential Tools and Materials
- Sewing Machine: Invest in a good-quality sewing machine suited to your skill level.
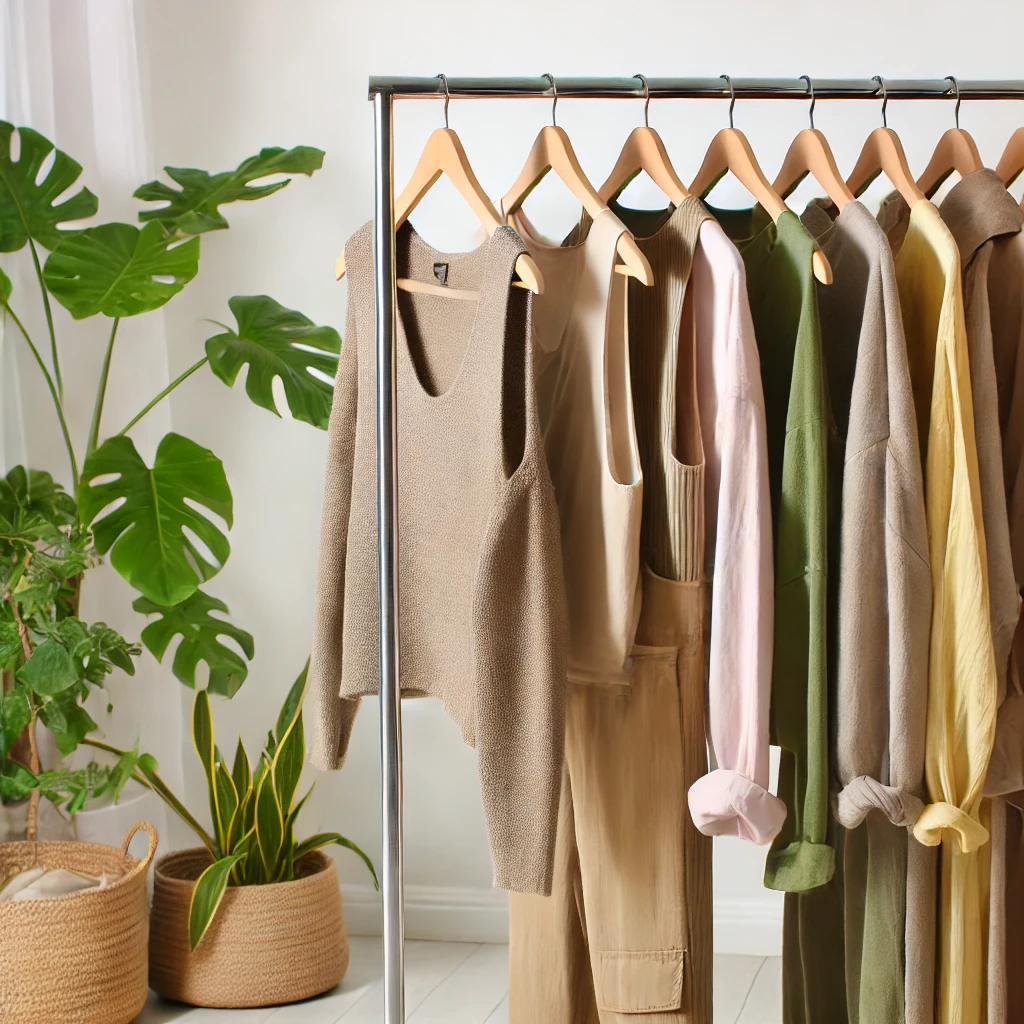
- Fabric: Choose fabrics that are suitable for your project and eco-friendly, such as organic cotton, linen, or recycled materials.
- Sewing Kit: Include essentials like needles, thread, scissors, pins, a seam ripper, and measuring tape.
- Patterns: Purchase or download sewing patterns that match your skill level and project needs.
Recommended Brands and Products
- Sewing Machines: Brother, Singer, Janome
- Eco-Friendly Fabrics: Spoonflower, Fabric.com, Organic Cotton Plus
- Patterns: Vogue Patterns, McCall’s, Indie sewing pattern designers
Affiliate Links:
Visual Example:
Chapter 3: Choosing the Right Project
Beginner-Friendly Projects
- Simple Skirt: A basic A-line or gathered skirt is a great starting project.
- Tote Bag: Easy to sew and useful for everyday use.
- Pajama Pants: Comfortable and straightforward to make.
Intermediate Projects
- Blouse or Shirt: Practice with more detailed patterns and techniques.
- Dress: Try a simple dress pattern with minimal shaping.
- Jacket: Learn to work with heavier fabrics and lining.
Advanced Projects
- Tailored Blazer: Challenge yourself with complex patterns and fitting techniques.
- Jeans: Master the art of sewing durable, well-fitted jeans.
- Formal Wear: Create elegant garments for special occasions.
Visual Example:
Expert Advice
Interview with Tilly Walnes, Author of “Love at First Stitch”:
Q: What advice would you give to someone just starting to make their own clothes?
A: “Start with simple projects and build your skills gradually. Don’t be afraid to make mistakes – they’re part of the learning process. Choose patterns that excite you and fabrics that you love, as this will keep you motivated.”
Chapter 4: Preparing Your Fabric
Pre-Washing and Ironing
- Pre-Washing: Wash your fabric according to its care instructions to prevent shrinkage and remove any chemicals.
- Ironing: Iron your fabric to remove wrinkles and make it easier to work with.
Cutting Your Fabric
- Laying Out the Pattern: Place your pattern pieces on the fabric, following the grainline and pattern instructions.
- Pinning and Cutting: Pin the pattern pieces to the fabric and cut carefully with sharp fabric scissors.
Visual Guide:
Chapter 5: Sewing Techniques
Basic Sewing Techniques
- Straight Stitch: The most common stitch used for sewing seams.
- Zigzag Stitch: Useful for finishing raw edges and stretchy fabrics.
- Backstitch: Used to secure the beginning and end of a seam.
Intermediate Sewing Techniques
- Darts and Pleats: Used to shape the fabric around the body.
- Zippers: Learn to insert different types of zippers for various garments.
- Buttonholes and Buttons: Essential for closures on shirts, blouses, and jackets.
Advanced Sewing Techniques
- Lining a Garment: Adds structure and a professional finish.
- Tailoring: Techniques for creating fitted and structured garments.
- Hems and Finishes: Various methods for hemming and finishing edges.
Visual Guide:
Expert Advice
Interview with Gretchen Hirsch, Author of “Gertie’s New Book for Better Sewing”:
Q: What are some key techniques that every sewer should master?
A: “Mastering basic techniques like straight stitching, pressing, and finishing seams is essential. As you advance, focus on skills like inserting zippers and making buttonholes. These techniques will give your garments a polished and professional look.”
Chapter 6: Assembling Your Garment
Step-by-Step Assembly
- Reading the Pattern: Understand the pattern instructions and layout.
- Sewing Seams: Follow the pattern instructions to sew the main seams of your garment.
- Adding Details: Sew darts, pleats, pockets, and other design elements.
- Attaching Fasteners: Insert zippers, sew buttonholes, or add other closures.
Common Challenges and Solutions
- Fit Issues: Adjust seams and darts for a better fit.
- Fabric Puckering: Ensure proper tension and stitch length.
- Seam Alignment: Pin carefully and sew slowly to match seams accurately.
Visual Guide:
Chapter 7: Finishing Touches
Pressing and Finishing
- Pressing Seams: Press seams open or to one side for a crisp finish.
- Hemming: Choose the appropriate hem for your fabric and garment style.
- Adding Labels and Tags: Personalize your garments with custom labels.
Quality Check
- Inspecting Seams: Check all seams for strength and even stitching.
- Final Fit: Try on the garment and make any necessary adjustments.
- Final Press: Give your garment a final press to ensure it looks its best.
Visual Guide:
Chapter 8: Caring for Your Handmade Clothes
Washing and Maintenance
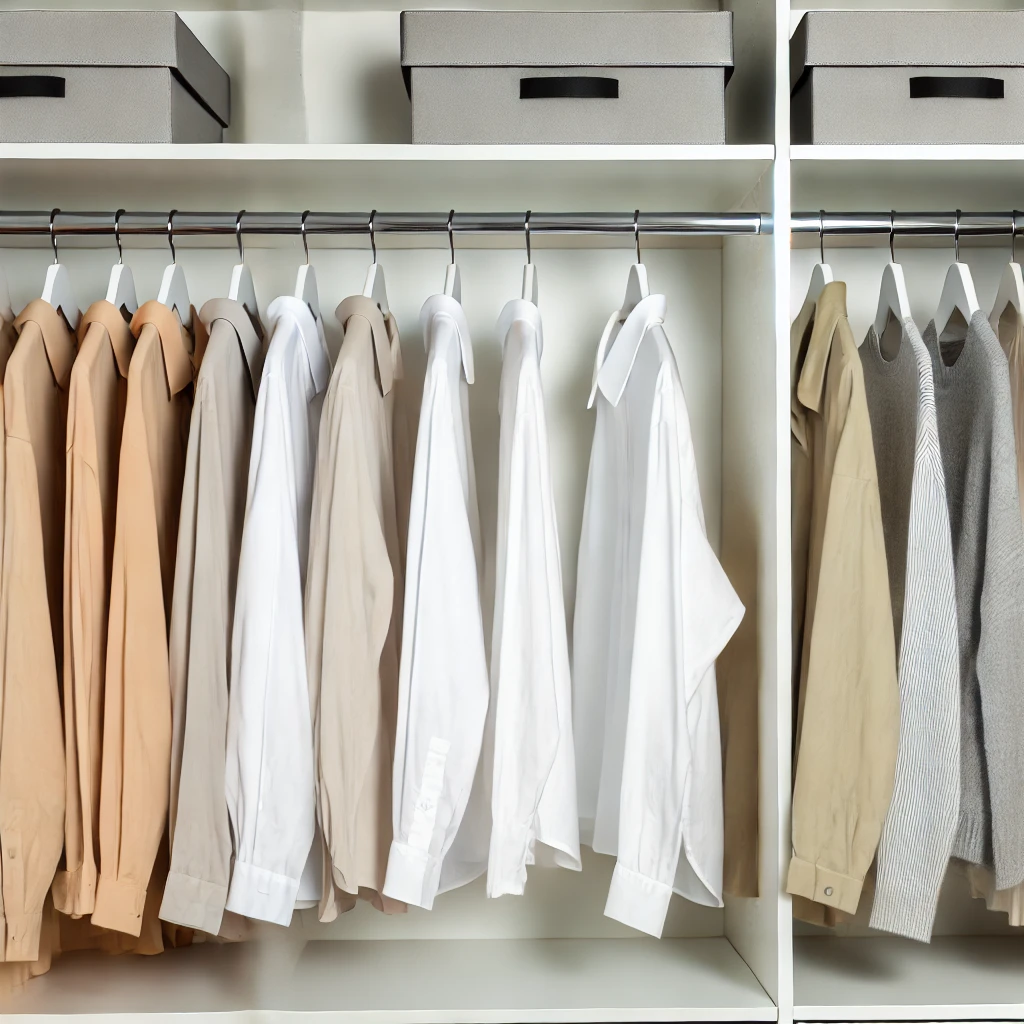
- Washing Instructions: Follow the care instructions for your fabric.
- Storage Tips: Store your handmade clothes properly to prevent damage.
- Repairing and Mending: Learn basic repair techniques to extend the life of your garments.
Sustainability Practices
- Using Eco-Friendly Detergents: Choose natural and biodegradable detergents.
- Line Drying: Air dry your clothes to save energy and preserve fabric quality.
- Upcycling Scraps: Use leftover fabric scraps for smaller projects or accessories.
Visual Guide:
Conclusion
Making your own clothes is a fulfilling and sustainable practice that allows you to express your creativity and personalize your wardrobe.
By following the steps outlined in this guide, you can develop your sewing skills and create beautiful, custom-made garments that reflect your style and values. Happy sewing!
Affiliate Links:
- Shop Sewing Machines on Amazon
- Eco-Friendly Fabrics at Spoonflower
- Vogue Patterns
- The Life-Changing Magic of Tidying Up by Marie Kondo
- The Minimalist Home by Joshua Becker
- Project 333 by Courtney Carver
- The Conscious Closet by Elizabeth L. Cline
- Zero Waste Home by Bea Johnson
- The Curated Closet by Anuschka Rees
- Simple Matters by Erin Boyle