Composting at home is a fantastic way to reduce waste, enrich your garden soil, and contribute to a healthier environment.
If you’ve ever been curious about how to start composting but felt overwhelmed by the process, this guide is for you.
We’ll take you through each step with practical examples, helpful tips, and personal anecdotes to make your composting journey a success.
Chapter 1:
The Basics of Composting
Understanding Composting
Composting is the natural process of breaking down organic matter, such as food scraps and yard waste, into a nutrient-rich material known as compost.
This compost can then be used to improve soil quality and promote healthy plant growth.
Why Compost?
- Reduces Waste: Composting reduces the amount of organic waste that ends up in landfills, where it contributes to methane emissions.
- Enriches Soil: Compost improves soil structure, moisture retention, and nutrient content.
- Eco-Friendly: Composting is a sustainable practice that benefits the environment by reducing greenhouse gases and enhancing soil health.
Personal Anecdote:
When I first started composting, I was amazed at how much less trash I produced each week.
It felt great knowing that my food scraps were going back into the earth rather than sitting in a landfill.
Chapter 2:
Choosing Your Composting Method
2.1 Backyard Composting
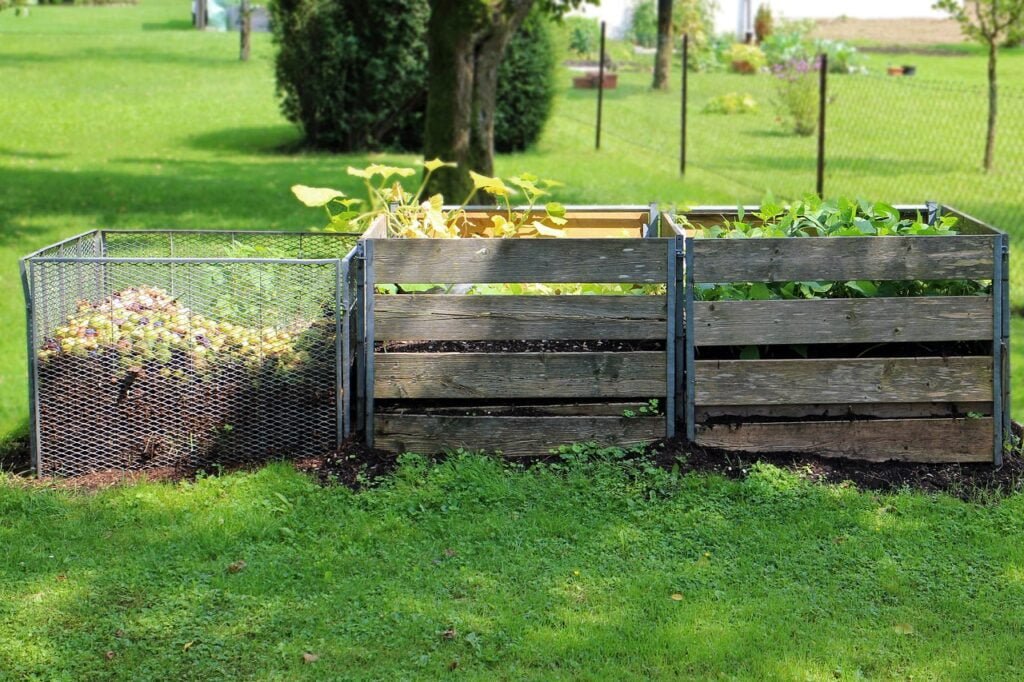
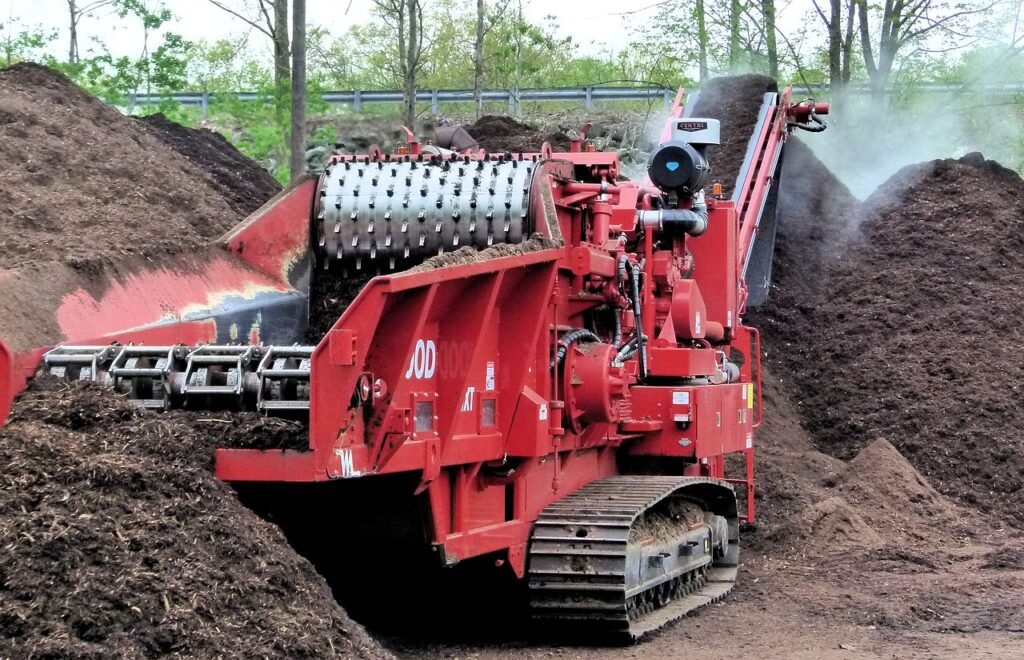
Backyard composting is ideal if you have outdoor space and want to compost larger amounts of organic waste.
It typically involves creating a compost pile or using a compost bin.
Steps for Backyard Composting:
- Select a Location: Choose a dry, shady spot near a water source for your compost pile or bin.
- Create a Base: Start with a layer of coarse materials like straw or twigs to help with aeration and drainage.
- Add Materials: Alternate layers of green materials (nitrogen-rich) and brown materials (carbon-rich).
- Turn the Pile: Regularly turn the compost to aerate it and speed up decomposition.
- Monitor Moisture: Keep the compost moist, but not too wet. It should feel like a damp sponge.
Example:
John, a gardening enthusiast, built a simple compost bin using wooden pallets. He placed it in a corner of his backyard and started with a layer of straw. Each week, he added kitchen scraps and garden clippings, turning the pile every few days. Within a few months, John had rich, dark compost ready to use in his garden.
2.2 Indoor Composting
If you live in an apartment or don’t have outdoor space, indoor composting is a great option.
You can use a small compost bin or a worm composting system (vermicomposting).
Steps for Indoor Composting:
- Choose a Container: Select a container with a tight-fitting lid. You can buy a compost bin or repurpose a plastic container.
- Add Bedding: Start with a layer of shredded newspaper or cardboard to create bedding for the compost.
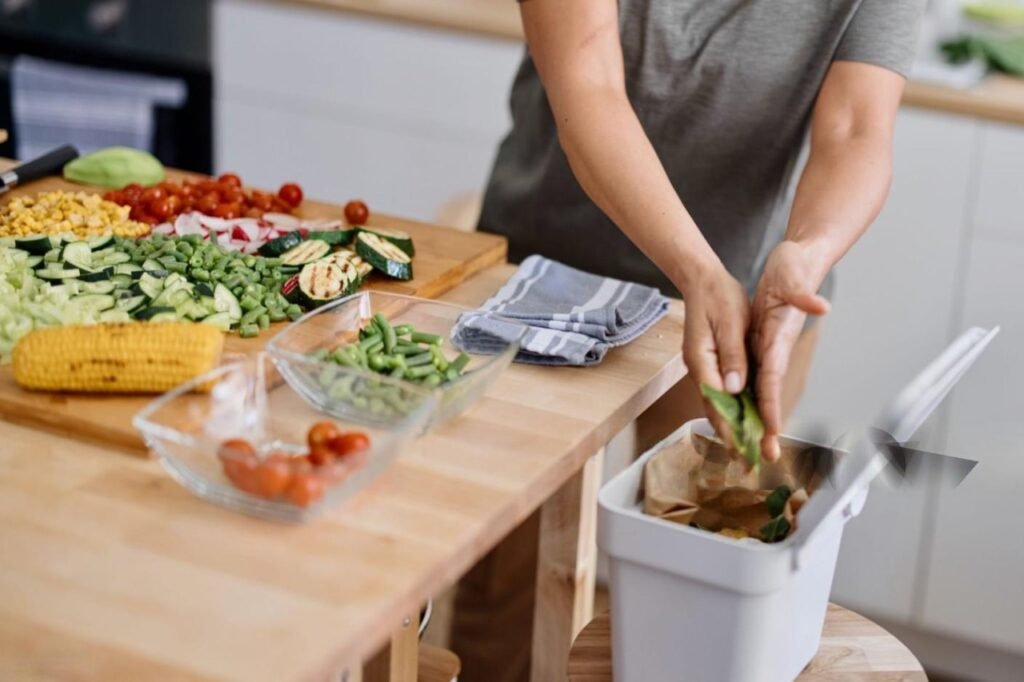
- Add Waste: Add food scraps and other compostable materials. Avoid meat, dairy, and oily foods.
- Maintain the Bin: Keep the compost moist and turn it regularly to ensure proper decomposition.
Example:
Sarah, an apartment dweller, started composting in a small bin under her kitchen sink. She used shredded newspaper for bedding and added fruit and vegetable scraps daily. To manage odors, she occasionally added baking soda and made sure to turn the compost weekly. Sarah was thrilled to see her food waste turn into compost for her balcony garden.
2.3 Vermicomposting
Vermicomposting uses worms to break down organic waste.
This method is efficient and produces high-quality compost, known as worm castings.
Steps for Vermicomposting:
- Get a Worm Bin: Purchase or build a worm bin with proper ventilation and drainage.
- Add Bedding: Add moist bedding made of shredded newspaper, cardboard, or coconut coir.
- Add Worms: Introduce red wigglers (Eisenia fetida), the best worms for composting.
- Feed the Worms: Add small amounts of food scraps, avoiding meat, dairy, and oily foods.
- Harvest Compost: After a few months, harvest the worm castings and use them in your garden.
Example:
Mike, a teacher, started a vermicomposting project in his classroom. He set up a worm bin with his students, and they took turns adding food scraps and maintaining the bin. The students were fascinated by the process and loved seeing the worms turn waste into compost. Mike used the worm castings in the school garden, teaching his students about sustainability and recycling.
Chapter 3:
What to Compost and What to Avoid
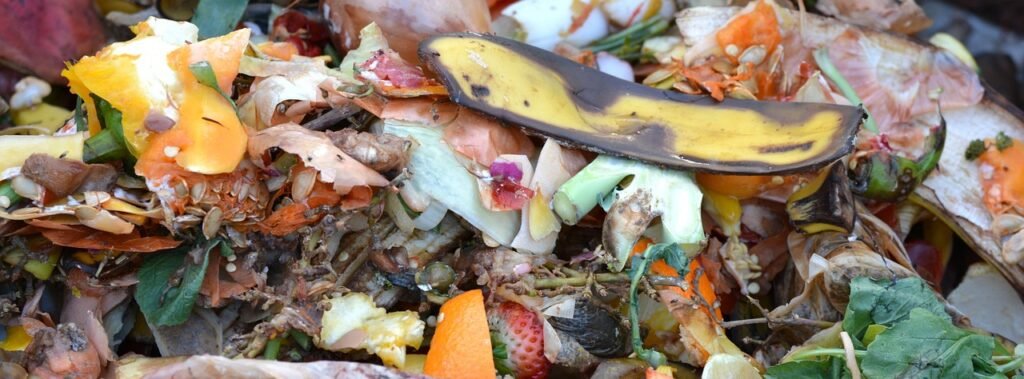
Compostable Materials
Green Materials (Nitrogen-Rich):
- Fruit and vegetable scraps
- Coffee grounds and filters
- Tea bags
- Grass clippings
- Eggshells
Brown Materials (Carbon-Rich):
- Shredded newspaper and cardboard
- Dry leaves
- Straw and hay
- Sawdust (untreated wood)
- Paper towels and napkins
Materials to Avoid
- Meat and dairy products (attract pests and create odors)
- Oily or greasy foods
- Diseased plants
- Pet waste
- Glossy or coated paper
Personal Anecdote:
I once made the mistake of adding citrus peels to my compost bin, not realizing they take longer to break down and can make the compost too acidic. After adjusting the mix and avoiding citrus, my composting process improved significantly.
Chapter 4:
Setting Up Your Compost System
4.1 Backyard Compost Bin
Building a Simple Compost Bin:
- Materials Needed: Wooden pallets, screws, and a drill.
- Assembly: Arrange the pallets to form a three-sided structure, securing them with screws.
- Location: Place the bin in a shaded, well-drained area.
- Starting the Compost: Add a layer of coarse materials (e.g., twigs), followed by alternating layers of green and brown materials.
4.2 Indoor Compost Bin
Setting Up an Indoor Compost Bin:
- Container: Choose a container with a tight-fitting lid.
- Bedding: Add a layer of shredded newspaper or cardboard for bedding.
- Add Waste: Add food scraps and other compostable materials.
- Maintenance: Keep the compost moist and turn it regularly.
4.3 Vermicomposting Bin
Setting Up a Worm Bin:
- Container: Choose a bin with ventilation holes and drainage.
- Bedding: Add moist bedding made of shredded newspaper or cardboard.
- Worms: Introduce red wigglers (Eisenia fetida).
- Feeding: Add small amounts of food scraps, avoiding meat, dairy, and oily foods.
- Harvesting: Harvest worm castings after a few months and use them in your garden.
Example:
Rachel, a college student, set up a vermicomposting bin in her dorm room. She used a plastic storage container with holes drilled for ventilation. After adding bedding and worms, she fed them small amounts of food scraps each week. Rachel enjoyed watching the worms work and was proud to use the worm castings in her potted plants.
Chapter 5:
Maintaining Your Compost
5.1 Turning the Compost
Turning the compost helps aerate the pile and speed up decomposition.
Tips for Turning Compost:
- Frequency: Turn the compost every few weeks.
- Tools: Use a pitchfork or compost turner to mix the materials.
- Monitor: Check the moisture level and add water if needed.
5.2 Monitoring Moisture
Compost should be moist but not too wet.
Tips for Maintaining Moisture:
- Feel Test: The compost should feel like a damp sponge.
- Watering: Add water if the compost is too dry.
- Covering: Use a tarp or lid to protect the compost from excessive rain.
5.3 Managing Odors
Properly maintained compost should not have a foul odor.
Tips for Managing Odors:
- Balance: Ensure a balance of green and brown materials.
- Turning: Regularly turn the compost to aerate it.
- Avoid: Avoid adding meat, dairy, and oily foods that can create odors.
Example:
Tom, a retired engineer, learned that his compost pile was too dry and not breaking down properly. He started turning it more frequently and added water to maintain the right moisture level. Within weeks, he noticed a significant improvement in the composting process and no longer had issues with odors.
Chapter 6:
Harvesting and Using Your Compost
6.1 Knowing When Compost is Ready
Finished compost is dark, crumbly, and has an earthy smell.
Signs of Finished Compost:
- Appearance: Dark brown or black color.
- Texture: Crumbly and soil-like.
- Smell: Earthy, pleasant smell.
6.2 Harvesting Compost
Harvesting compost involves separating the finished compost from the undecomposed materials.
Steps for Harvesting Compost:
- Screening: Use a compost screen or sieve to separate finished compost from larger pieces.
- Return: Return the larger pieces to the compost pile for further decomposition.
- Storage: Store the finished compost in a covered container or bag until ready to use.
6.3 Using Compost in Your Garden
Compost can be used in various ways to improve soil and plant health.
Ways to Use Compost:
- Soil Amendment: Mix compost into garden beds to improve soil structure and fertility.
- Mulch: Spread compost around plants to help retain moisture and suppress weeds.
- Potting Mix: Add compost to potting mix for container plants.
- Lawn Topdressing: Apply a thin layer of compost to lawns to improve soil health.
Example:
Anna, a home gardener, harvested her first batch of compost after six months. She used it to amend the soil in her vegetable garden, and within weeks, she noticed healthier, more vigorous plants. The compost also helped retain moisture, reducing the need for frequent watering.
Chapter 7:
Troubleshooting Common Composting Issues
7.1 Compost Not Heating Up
If your compost pile isn’t heating up, it may not be decomposing efficiently.
Solutions:
- Add Green Materials: Increase the amount of nitrogen-rich green materials.
- Turn the Pile: Turn the compost to aerate it and increase microbial activity.
- Check Moisture: Ensure the compost is moist but not too wet.
7.2 Compost Smells Bad
Foul odors in your compost can indicate an imbalance or improper maintenance.
Solutions:
- Add Brown Materials: Add more carbon-rich brown materials to balance the compost.
- Turn the Pile: Regularly turn the compost to aerate it and reduce odors.
- Avoid: Avoid adding meat, dairy, and oily foods that can create odors.
7.3 Compost Attracts Pests
Pests can be attracted to your compost if it contains unsuitable materials.
Solutions:
- Avoid Food Scraps: Avoid adding meat, dairy, and oily foods that attract pests.
- Cover Food Scraps: Bury food scraps under a layer of brown materials.
- Secure Bin: Use a compost bin with a tight-fitting lid to keep pests out.
Example:
James, a novice composter, was frustrated when his compost pile didn’t seem to be decomposing. After researching, he realized he wasn’t adding enough green materials and wasn’t turning the pile regularly. By making these adjustments, his compost pile started heating up and decomposing more efficiently.
Conclusion
Starting composting at home is a rewarding and eco-friendly practice that benefits both your garden and the environment.
By following the steps outlined in this guide, you can successfully create and maintain a compost system that works for your lifestyle and space. Whether you choose backyard composting, indoor composting, or vermicomposting, the key is to find a method that suits your needs and stick with it.
Remember, composting is a natural process that takes time and patience. Don’t be discouraged by initial challenges; with consistent effort and attention, you’ll soon be producing rich, nutrient-dense compost that will enhance your garden and reduce your waste footprint.
If you found this guide helpful, share it with your friends and family. Together, we can make a difference by adopting sustainable practices like composting.